On this page
When the yard goes dark after dusk and the porch light leaves the gate out of sight, knowing how to mount security cameras turns a box on a shelf into a camera that watches the door, the driveway or the side gate. A mount holds the camera steady, points it at the ground you want to see and keeps the cable out of the weather. The steps below cover the spot, the bracket, the fixings, the aim and the cable, using the bracket figures the listings state.
SolarKitHQ earns a commission when you buy through links on this page, at no extra cost to you. As an Amazon Associate I earn from qualifying purchases. Affiliate disclosure.
How to mount security cameras: the quick answer
Pick a spot with a clear view of the door or driveway and a wall or ceiling that takes screws. Match the bracket to the camera: a fixed L-type bracket suits a set position, while an adjustable J-type bracket that extends from 15.7 to 23.6 inch lets you bring the camera out from the wall and set the drop. Fix the bracket, aim the lens, feed the cable through the bracket where the listing provides a hidden hole, then check the view on the camera app before you walk away.
Step 1: Pick the spot
Stand where the camera will sit and look at what it will see. A door, a gate or a driveway needs a view that covers the approach. Keep the lens clear of branches and out of the path of a porch light, so glare does not wash out the picture at night. A spot under an eave or a porch roof gives the camera shelter from rain while the lens still sees the yard. Check the view on the camera app while you hold the camera in place, then mark the spot.
Step 2: Pick the bracket
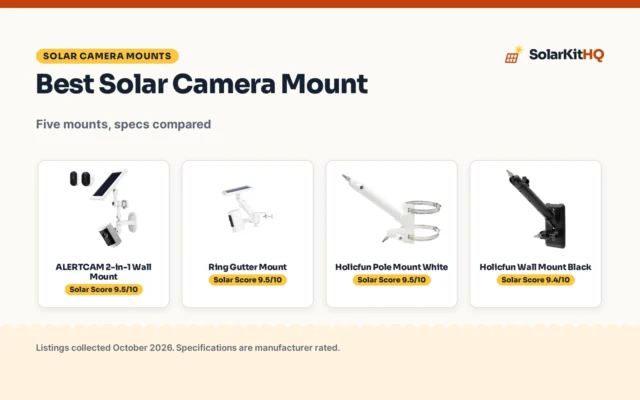
Brackets come in L-type and J-type shapes, in fixed and adjustable lengths, and the listings state the length of each bracket. A short fixed bracket suits a camera that sits close to the wall, while an adjustable J-type bracket that extends from 15.7 to 23.6 inch brings the camera out over a porch edge or past a deep eave. The table below lists the stated lengths from the listings.
| Bracket | Stated length | Mount style |
|---|---|---|
| compcctv L-type | 8.6 inch | Wall |
| compcctv J-type | 12.5 inch | Wall |
| compcctv L-type telescopic | 16-25 inch | Wall |
| compcctv, QWORK and WiTi J-type | 15.7-23.6 inch | Wall |
| WiTi J-pole | 6 inch base, 15.7-23.6 inch pole | Wall and ceiling |
| NVRTTRR L-shaped | 4.5in, 4.92 x 2.95 x 3.94 inch | Wall |
| BeElion adapter | 105mm x 100mm x 52mm | Wall, ceiling and pole |
| NVRTTRR corner | 100mm x 105mm x 155mm, 7.8 in hoop | Wall, ceiling and corner |
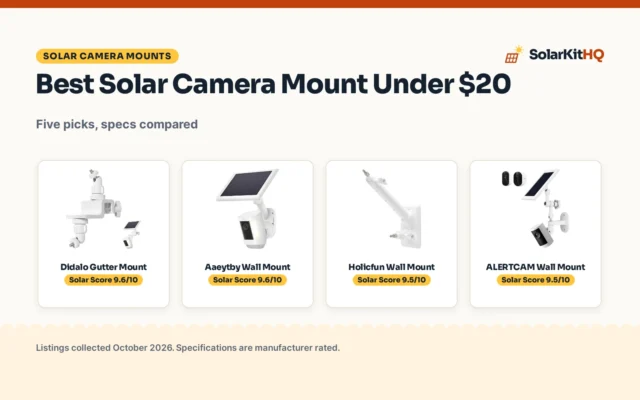
Match the material to the spot as well: the compcctv and QWORK brackets (on Amazon) use weatherproof aluminum, the BeElion adapter (on Amazon) uses iron with an ivory finish, and the NVRTTRR L-shaped bracket uses weather resistant ABS plastic. See the best solar camera mounts for mounts compared by spec.
Step 3: Fix the bracket to the wall or ceiling
Hold the bracket against the marked spot and mark each screw hole with a pencil. Drill the holes for the wall plugs or screws, then drive the screws through the bracket base until the bracket sits flat and does not rock. The WiTi J-pole bracket (on Amazon) ships with a screw bag holding all needed screws, and the BeElion adapter includes mounting screws, so check the box before you buy extra fixings.
Step 4: Aim the lens and lock the angle
Fit the camera to the bracket and loosen the angle joint enough to move the lens. Aim the lens down the driveway or across the door so the ground you want to watch fills the middle of the picture, then tighten the joint. Dome cameras suit a ceiling or a high wall mount, while bullet cameras suit a wall mount that looks along a fence or driveway. See dome vs bullet solar security cameras for the differences between the shapes. Look at the live view on the camera app and move the lens again if a wall or a branch fills the frame.
Step 5: Route the cable through the bracket
Many brackets in the listings have a hidden hole that feeds the cable through the bracket to the housing, which keeps the cable out of sight and out of the weather. Feed the cable through before you fit the camera, so the connector sits inside the housing and no loop hangs below the bracket. Leave a small drip loop below the bracket, so rain runs off the low point instead of following the cable into the housing. The compcctv L-type and J-type brackets, the QWORK J-type bracket and the NVRTTRR L-shaped bracket all list this hidden hole.
Step 6: Check the view, then walk away
Open the camera app and look at the live view in daylight and after dark. Walk through the area the camera watches and confirm it sees you from the edge of the yard to the door. If the picture misses the gate, loosen the joint, move the lens and tighten it again. For help picking the camera itself, see what makes a good security camera.
Ways to make the mount last
- Match the material to the spot: weatherproof aluminum suits an exposed wall, while weather resistant ABS plastic suits a sheltered porch.
- Keep the cable inside the bracket: a hidden hole keeps the cable out of the weather and out of reach.
- Check the warranty the listing states: the WiTi bracket lists a 2 years warranty and the NVRTTRR corner bracket lists a 1 YEAR warranty.
- Mind the weight limit: the NVRTTRR corner bracket lists a maximum weight of 5KG, so fit a camera within that limit.
- Recheck the aim after a storm: wind can shift a loose joint, so look at the live view again and tighten the joint if the view moved.
FAQ: power away from the grid
What height should a security camera sit at?
Mount it high enough that a person cannot reach it from the ground without a ladder, and low enough that the lens still sees faces at the door.
Do I need a J-type or an L-type bracket?
Pick the shape that fits the spot. A fixed L-type bracket, such as the compcctv bracket at 8.6 inch, suits a camera that sits close to the wall. An adjustable J-type bracket that extends from 15.7 to 23.6 inch suits a camera that must reach past a deep eave or a porch edge. A corner bracket, such as the NVRTTRR bracket at 100mm x 105mm x 155mm, suits a camera that watches from a corner.
Can I mount a security camera on a ceiling?
Yes. The BeElion adapter and the NVRTTRR corner bracket list wall, ceiling and pole mounting, and the WiTi J-pole bracket lists wall and ceiling mounting. A dome camera suits a ceiling mount, since the dome hangs below the bracket.
How do I hide the camera cable?
Use a bracket with a hidden hole. The compcctv, QWORK and NVRTTRR brackets list a hole that feeds the cable through the bracket to the housing, so no cable hangs below the mount.
What size bracket fits a dome camera?
The WiTi bracket lists a 6 inch base diameter, and the NVRTTRR L-shaped bracket (on Amazon) lists a 4.5in size with a 4.92 x 2.95 x 3.94 inch body. Measure the camera base and pick a bracket with a base at least as wide.
Related solar guides
See the best solar camera mounts, the dome vs bullet solar security cameras, the what makes a good security camera and the solar security cameras vs indoor security cameras. See every solar security camera guide.