On this page
Your panels are on the roof, the battery is wired in, and the charge controller blinks at you with a screen full of settings you have never touched. That is the moment the question of how to set solar charge controller settings becomes real, because the right settings decide whether the battery charges fully or slowly wears down. A solar charge controller sits between the panels and the battery, and setting it means telling it what battery you have, what voltage it should charge to, and when it should stop. This guide walks through each setting in turn, using the figures the makers publish for their own controllers.
SolarKitHQ earns a commission when you buy through links on this page, at no extra cost to you. As an Amazon Associate I earn from qualifying purchases. Affiliate disclosure.
How to set solar charge controller: the quick answer
Set the battery type, then the battery voltage, then the charge voltages for the battery you have. Connect the battery to the controller before the panels, so the controller can read the battery voltage and pick the right system voltage. Match the panel voltage to the maximum input the listing states, and set the load output so the controller disconnects the load before the battery runs too low. The sections below work through each step with the figures from the listings.
Connect the battery before the panels
Wire the battery to the controller before you connect the panels, because the controller reads the battery voltage on startup and uses it to set the system voltage. If the panels are connected before the battery, the controller has no battery voltage to read and may set the wrong voltage. Use the cables the maker supplies or the size the manual gives, and keep the connections tight and clean. Once the battery is connected, the display or the app shows the battery voltage, and you can move on to the settings.
Pick the battery type and voltage
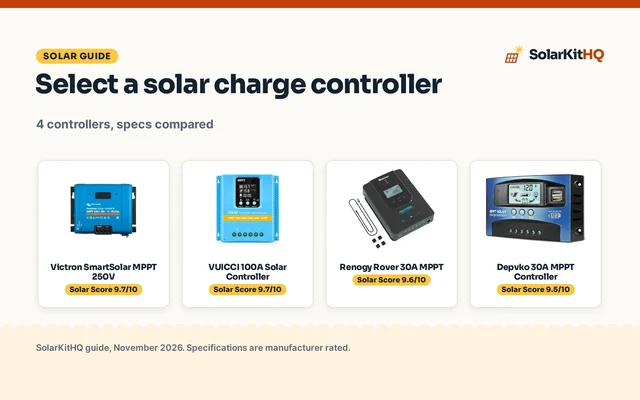
The controller needs to know what battery it is charging, because each battery type charges to a different voltage. The PowMr 60A controller lists presets for lithium, lithium iron phosphate, vented, flooded, sealed, gel and NiCd batteries, and it detects the battery voltage on its own across 12V, 24V, 36V and 48V systems. The Victron SmartSolar controllers use battery presets in the VictronConnect app, which you change from the app instead of on the unit. For sealed lead-acid, vented or gel batteries, PowMr states no parameter settings are needed and the controller adjusts on its own. For lithium batteries, PowMr states manual parameter adjustment is needed, because the voltage of a 12V lithium battery can range from 11.1V to 14.8V. Set the preset to match the battery on your shelf, not the battery you wish you had.
Match the panels to the controller input
Every controller lists a maximum solar input voltage, and the panels must stay under it. The Victron SmartSolar 100V 30 amp controller takes up to 100V from the panels, the 75V 15 amp model takes up to 75V, and the 150V 45 amp model takes up to 150V. The PowMr 60A controller takes up to 160V and up to 2800W from the panels. Add up the open-circuit voltage of the panels in each string and keep the total under the maximum the listing states, because a cold morning can push the panel voltage higher than the label figure. If the panel voltage is too high for the controller, use fewer panels in the string or a controller with a higher maximum input.
Set the charge voltages
The charge voltages decide how full the battery gets and how long it lasts. The PowMr controller (on Amazon) lets you set the absorption voltage, the floating voltage and the low voltage disconnect for the battery, and it records energy in real time so you can see what the system is doing. Set the absorption and floating voltages to the figures the battery maker gives for your battery type, and set the low voltage disconnect so the controller disconnects the load before the battery drains too far. The Victron controllers move through charge stages on their own and can sync with each other when several controllers charge the same battery, switching stages together so the battery charges evenly.
Set the load output and the fan
The load output lets you run lights and small loads straight from the controller, and the disconnect voltage decides when they switch off. Victron states you can set the voltage at which a load should disconnect, and the controller disconnects the load on its own if the battery voltage drops too low. The PowMr 60A controller shows the working mode, the charging current and the temperature on its backlight LCD, and its fan starts above 45 degrees and stops below 40 degrees. Set the disconnect voltage high enough that the battery never drains flat, and check the display after a day of sun to see that the load switched off when it should.
Check the display and the app
Once the settings are in, the display and the app tell you whether the system is working. The PowMr LCD shows the PV voltage, the output power, the battery voltage, the charging current, the working mode and the temperature, and its troubleshooting function flags faults in the system data. The VictronConnect app shows real-time data and 30-day performance history, and it lets you change settings, update firmware and set alarms from your phone. Check the battery voltage in the morning and the charge current near midday, and compare them with the figures the battery maker gives. If the numbers look wrong, check the connections and the settings before changing anything else.
FAQ: power away from the grid
Do I connect the battery or the panels first?
Connect the battery first. The controller reads the battery voltage on startup and uses it to set the system voltage, so it needs the battery in place before the panels feed it power. If the panels are connected first, the controller has no battery voltage to read.
What battery voltage should I set?
Set the voltage of the battery you have: 12V, 24V, 36V or 48V. The PowMr 60A controller detects the battery voltage on its own across 12V, 24V, 36V and 48V systems, while the Victron controllers use battery presets in the VictronConnect app. Check the label on the battery if you are unsure of its voltage.
Can I use a charge controller with lithium batteries?
Yes. Pick the lithium preset for your battery type, and set the charge voltages to the figures the battery maker gives. PowMr states that lithium batteries need manual parameter adjustment, because the voltage of a 12V lithium battery can range from 11.1V to 14.8V. Check the preset after you set it, since a wrong preset can overcharge the battery or leave it short of a full charge.
Why is my controller not charging?
Check the panel voltage against the maximum input the listing states, and check that the battery voltage matches the preset. Look at the display for faults, and check the connections between the panels, the controller and the battery. The PowMr troubleshooting function flags faults in the system data, and the VictronConnect app shows real-time data that can point to the fault.
What does MPPT mean?
MPPT stands for maximum power point tracking. The controller watches the panels and finds the point where they give the most power, then holds them there as the sun and the shade change through the day. That is why an MPPT controller can pull more energy from the same panels than a simpler controller that holds the panels at the battery voltage. See MPPT vs PWM for an RV for a side-by-side look at the two types.
Related solar guides
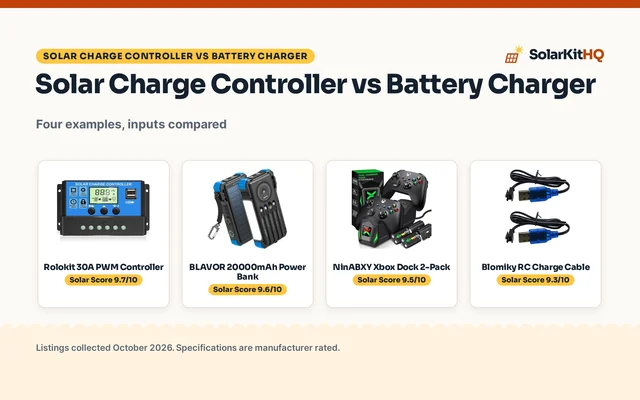
See the best MPPT charge controllers for a travel trailer, the MPPT vs PWM for an RV, the solar charge controller vs battery charger and the best MPPT charge controllers for a boat. See every controller and inverter guide on the site.